Using a spore syringe or Liquid Culture is a key step in cultivating mushrooms. Below is a step-by-step guide.
How to Use a Spore Syringe for Inoculation
Materials Needed:
- Spore Syringe / Liquid Culture – A spore syringe contains spores suspended in sterile water, while a liquid culture contains live mycelium in a nutrient-rich solution. For a detailed comparison, refer to Spore Syringes vs. Liquid Culture to understand their differences and best applications.
- Sterile Needle – Included with all syringes by Atlas Spores
- Alcohol Wipes – Used to sterilize before and inoculations. Included with all orders from Atlas Spores
- Sterile Gloves – Helps minimize contamination.
- Prepped Substrate – A sterilized medium such as a brown rice flour (BRF) cake, sterilized grain jar, or other nutritious substrate for mushroom growth.
- Still Air Box (SAB) or Laminar Flow Hood (Recommended) – A clean environment to reduce contamination risk.
- Micropore Tape or Injection Port Lids – If using jars with inoculation holes, micropore tape helps seal them after injection.
- Lighter, butane torch (recommended) or Alcohol Lamp – To flame sterilize the needle before each use.
Step-by-Step Process:
1. Prepare Your Work Area
Proper preparation is crucial to prevent contamination and ensure a successful inoculation. Follow these steps to create a sterile work environment:
Choose a Clean, Draft-Free Room
- Pick a low-traffic area with minimal airflow to prevent airborne contaminants from entering your workspace.
- Avoid working near open windows, vents, or fans. Air movement can introduce dust, mold spores, and bacteria.
Disinfect All Surfaces and Equipment
- Thoroughly wipe down all surfaces, including your workspace, tools, and gloves, using 70% isopropyl alcohol, Lysol, or another appropriate disinfectant.
- Always read the manufacturer’s instructions on any cleaning product to ensure proper usage and effectiveness.
- Pay close attention to dwell times—the amount of time a disinfectant needs to remain on a surface to fully eliminate contaminants. Allow surfaces to air dry completely before starting work.
- If using a Still Air Box (SAB) clean the interior thoroughly with alcohol wipes or disinfectant spray.
Personal Sterility: Dress for Clean Work
- Wear sterile gloves to prevent contamination from your hands.
Tip: Change gloves or wipe them frequently with alcohol if touching non-sterile objects.
- A face mask or N95 respirator reduces the chance of exhaling bacteria onto your workspace.
- If possible, wear a lab coat or clean long-sleeved clothing to reduce airborne contaminants from your body.
- Avoid breathing or talking directly over open jars or bags during inoculation.
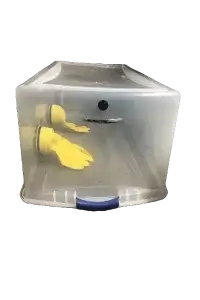
Use a Still Air Box (SAB) or Laminar Flow Hood for Sterility
Still Air Box (SAB):
- A clear plastic tote with arm holes that provides a controlled environment by trapping still air, reducing airborne contaminants.
- Ideal for home cultivators who do not have a laminar flow hood.
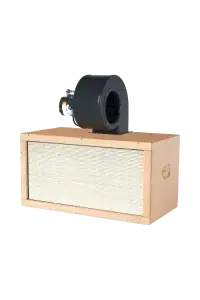
Laminar Flow Hood:
- A HEPA-filtered airflow system that pushes clean air over your workspace, actively filtering out contaminants.
- Provides superior sterility and is preferred for high-volume inoculation work.
- When using a flow hood, work directly in front of the airflow to keep your tools and inoculation points sterile.
2. Attach and Sterilize the Needle
Proper handling of the spore syringe and needle ensures even spore distribution and minimizes contamination risk. Follow these steps carefully:
- Shake the Spore Syringe Gently
- Spores settle at the bottom of the syringe over time.
- Shake gently but thoroughly for about 30-60 seconds.
- If clumps are visible, shake a bit more vigorously but avoid creating too many air bubbles.
- Some cultivators roll the syringe between their palms to mix the solution without excessive agitation.
- Remove the Plastic Cap from the Syringe Tip
- Ensure you do not touch the tip with your hands or any non-sterile surface.
- If you accidentally touch it, wipe it with an alcohol-soaked paper towel before proceeding.
- Attach the Sterile Needle Firmly to the Syringe
- Open the sterile needle package only when ready to use.
- Twist and attach the needle securely to the syringe tip.
- Avoid over-tightening, as this can crack the syringe hub or make removal difficult later.
- Flame Sterilize the Needle Properly
- Use a lighter, alcohol lamp, or butane torch (recommended) to heat the needle.
- Hold the needle in the flame until it glows red-hot (usually 5-10 seconds).
- Rotate the needle while heating to ensure even sterilization.
- If using any flame, ensure there are no flammable objects nearby.
- Avoid holding the needle in one place for too long, as excessive heat may weaken it.
- Allow the Needle to Cool Before Injecting
- Wait 3-5 seconds for the needle to cool down before injecting.
- If working quickly, you can briefly dip the needle tip into the spore solution to cool it down.
Warning: If the needle is still too hot, it may kill spores on contact.
- Do not touch the needle after sterilization—if touched, re-sterilize before use.
- Repeat Flame Sterilization Between Jars or Bags
- To minimize contamination, re-flame the needle before each new inoculation.
- If using a still air box (SAB), flame sterilize outside the box and reinsert carefully to avoid introducing contaminants.
Troubleshooting & Best Practices
✔ If the needle gets clogged – Draw in a small amount of sterile air, shake gently, and push it out to unclog.
✔ If the syringe is difficult to push – The spores may have settled; shake again or slightly warm the syringe by rolling it between your hands.
✔ If you suspect contamination – Discard the syringe and use a new one to avoid introducing bacteria or mold.
By following these steps, you ensure sterility and maximize spore viability for successful inoculation.
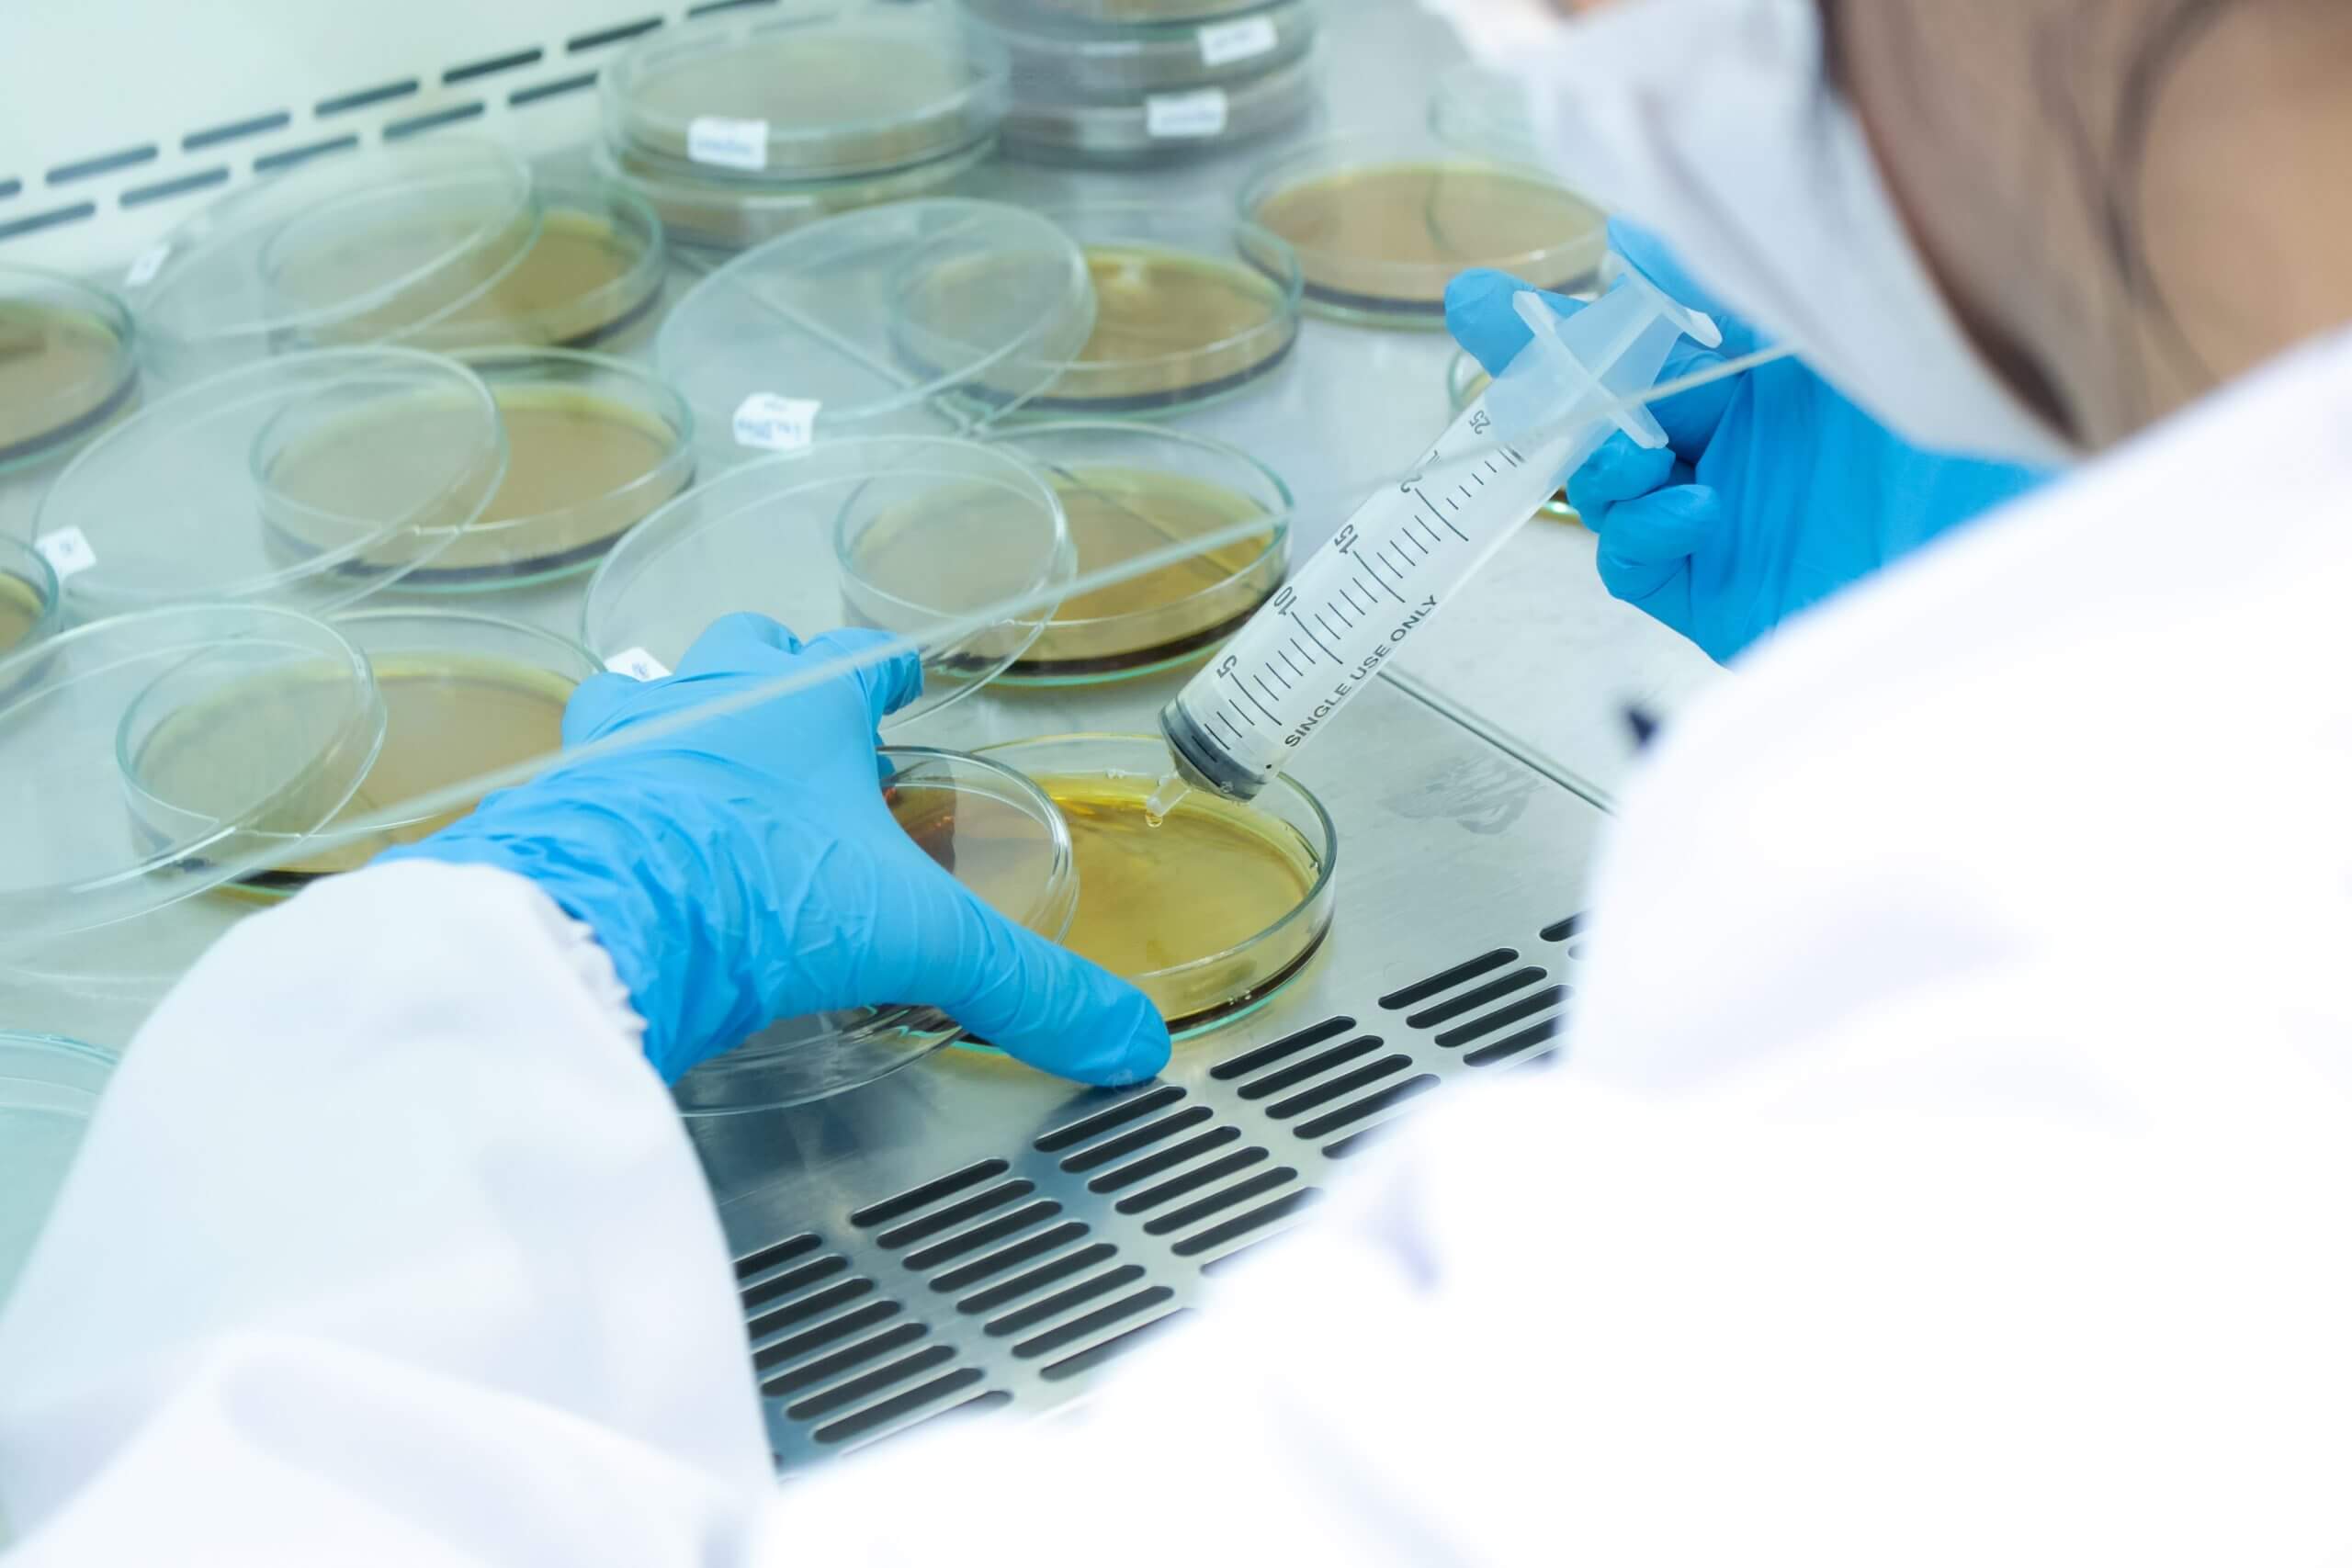
3. Inoculate the Substrate
- Wipe area where you plan on injecting with 70% isopropyl alcohol and let dry for 3-10 seconds.
- Insert the needle through the injection port (if using pre-sealed jars) or into a small hole in the jar lid.
- For jars: Inject 1 – 2 mL of spore solution per injection point (most jars have 4 points).
- For grain bags without injection port:
- Wipe the injection area with 70% isopropyl alcohol.
- Insert the syringe directly into the bag, aiming towards the center of the grain.
- Inject 2 – 5 mL of spore solution, moving the needle slightly while injecting to distribute spores more evenly. The more spore solution the faster the colonization.
- Quickly remove the needle and immediately seal the injection site using a sterile alcohol wipe and micropore tape to reduce contamination risk.
- Gently massage the grain bag to help distribute spores.
- Remove the syringe and flame sterilize the needle before using it on another jar or bag.
4. Seal and Store the Jars
- Cover inoculation holes with micropore tape if needed.
- Store the inoculated jars in a dark, warm place (75-80°F / 24-27°C) for colonization.
- Do not disturb the jars—movement can slow mycelium growth.
5. Monitor Colonization
- Check for white mycelium growth after 1-2 weeks.
- Look out for contaminants like green, black, or slimy growth—these indicate mold or bacterial contamination.
- Around 70% colonization, perform a break and shake:
- Gently break up the mycelium-covered grain by tapping the jar on a soft surface or shaking it to redistribute the colonized portions.
- This helps spread the mycelium more evenly across uncolonized grain, speeding up full colonization.
- Avoid overdoing it—breaking the mycelium too aggressively may slow recovery.
- Once fully colonized (usually 4-6 weeks), the jars will be ready to move to a fruiting substrate.
Ready to start your inoculation journey with premium spore syringes?
Shop Atlas Spores Collection →